![]()
General:
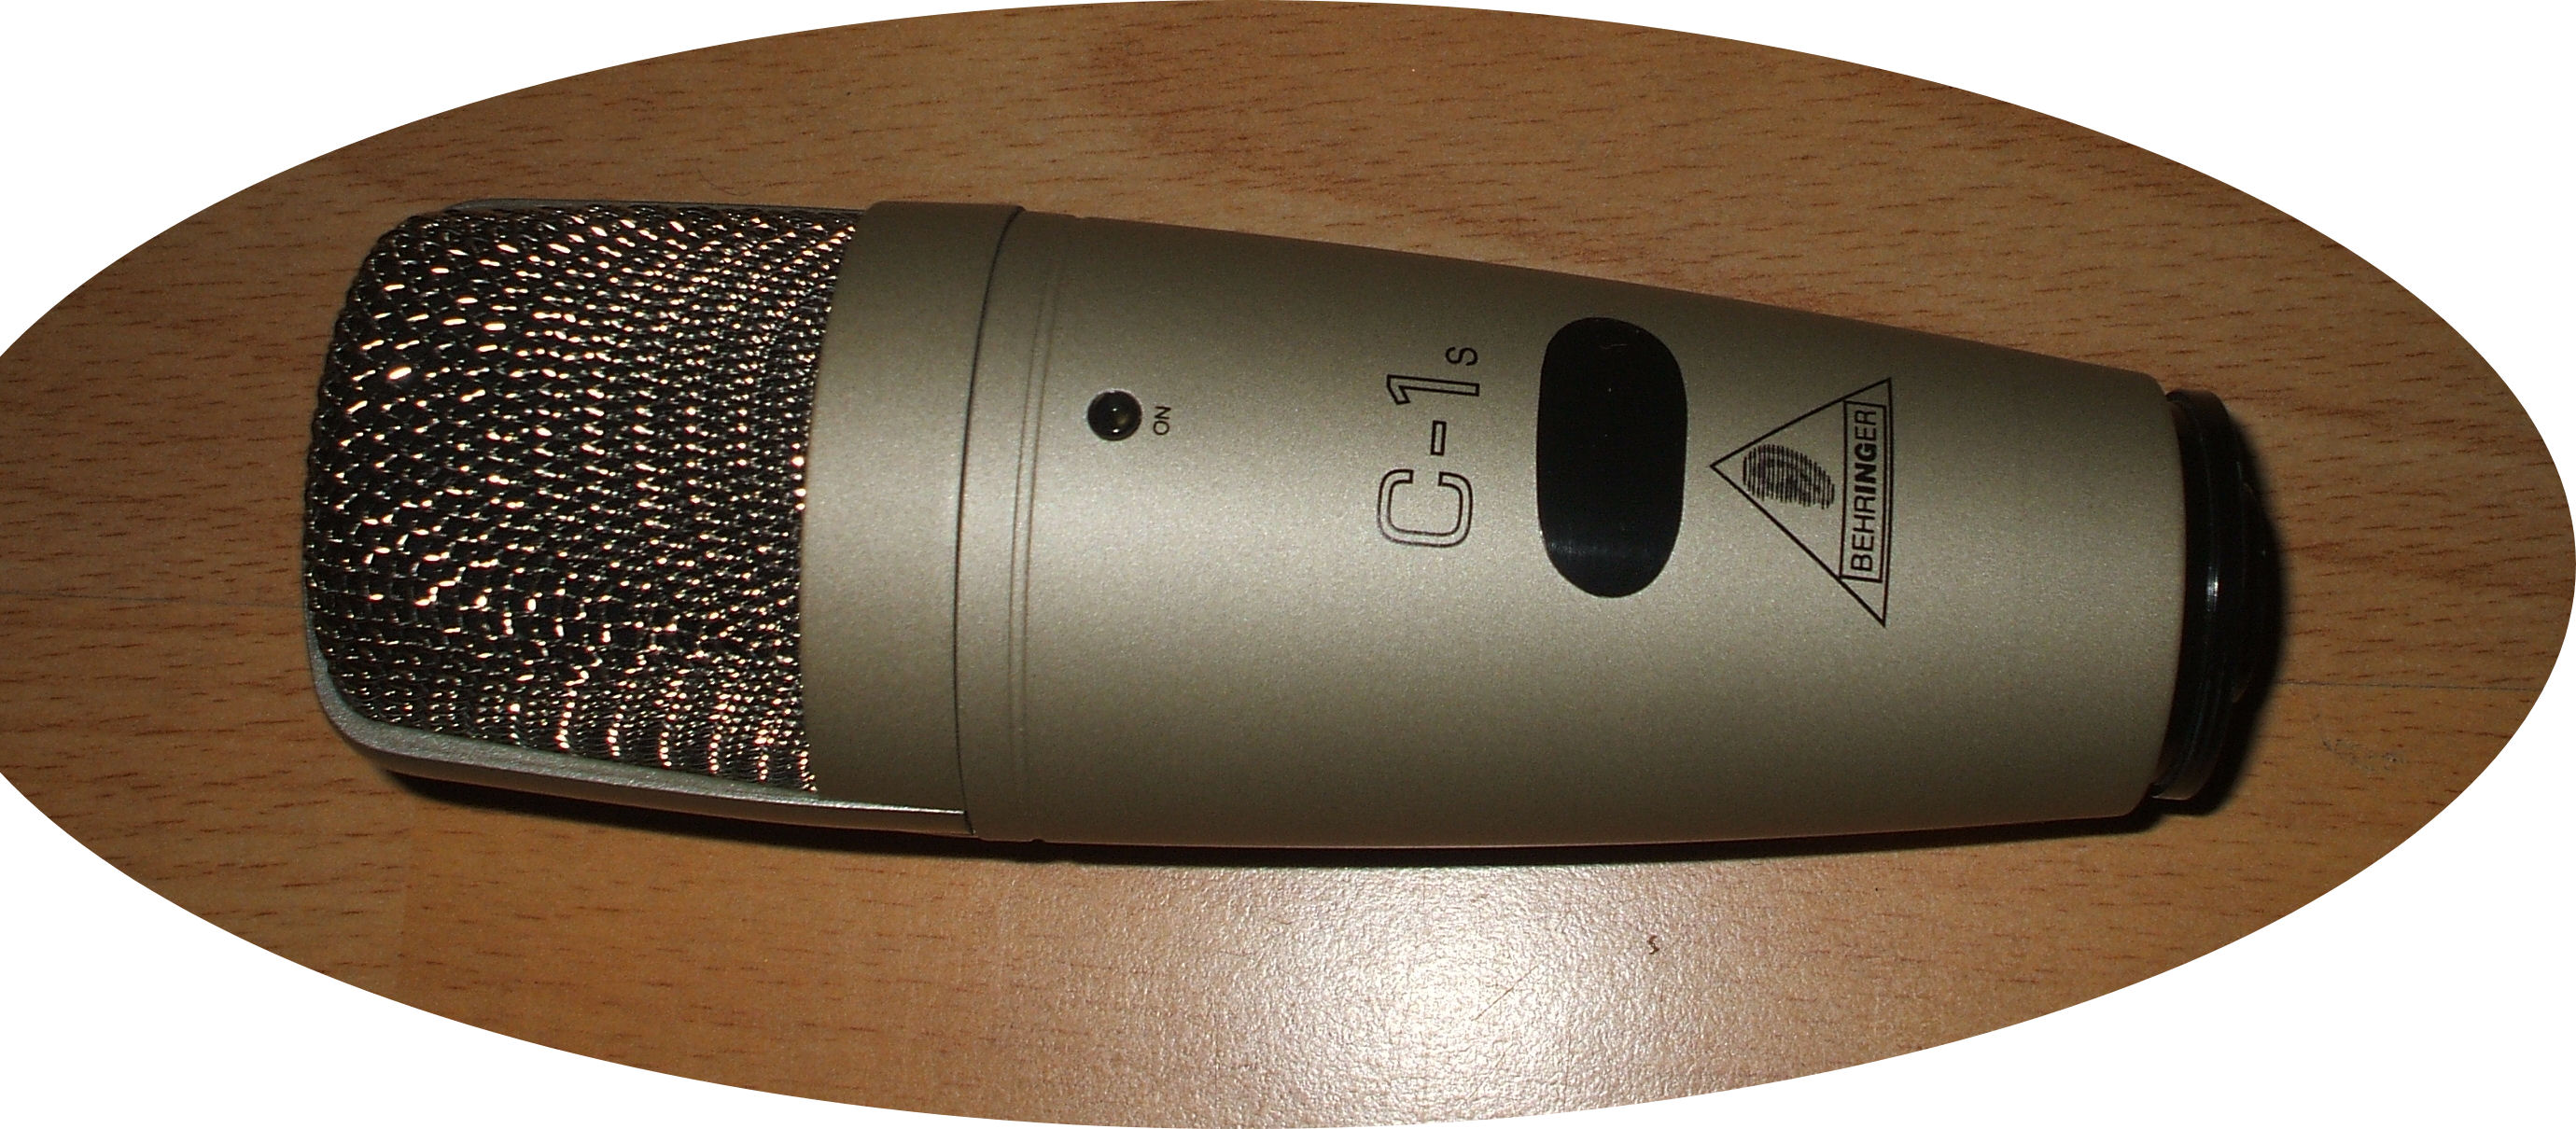
Behringer Germany is well known for its low-cost (semi-)professional audio and recording gear.
The C1 microphone is no exception, it cost only $15 to $30 on second hand markets.
Looks good ^
Special futures:
Phantom 48 Volt supplied electret condensor type microphone, with permanent polarized 1" diaphragm and FET type pre-amp.
The housing is rugged and suggests to be all metal, but it isn't, there are some plastic components used. It has a XLR connector.
It is also available in USB configuration as C-1U.
User Manual:
Click here to download the Behringer C1 product info in PDF format
Schematic:
construction
Modifications:
This mic is quite nice for simple recordings and has potentionally the same quality as all electret mics,
But it may be quite noisy: suffering hiss and hum.
It can be made dead quiet with some modification.
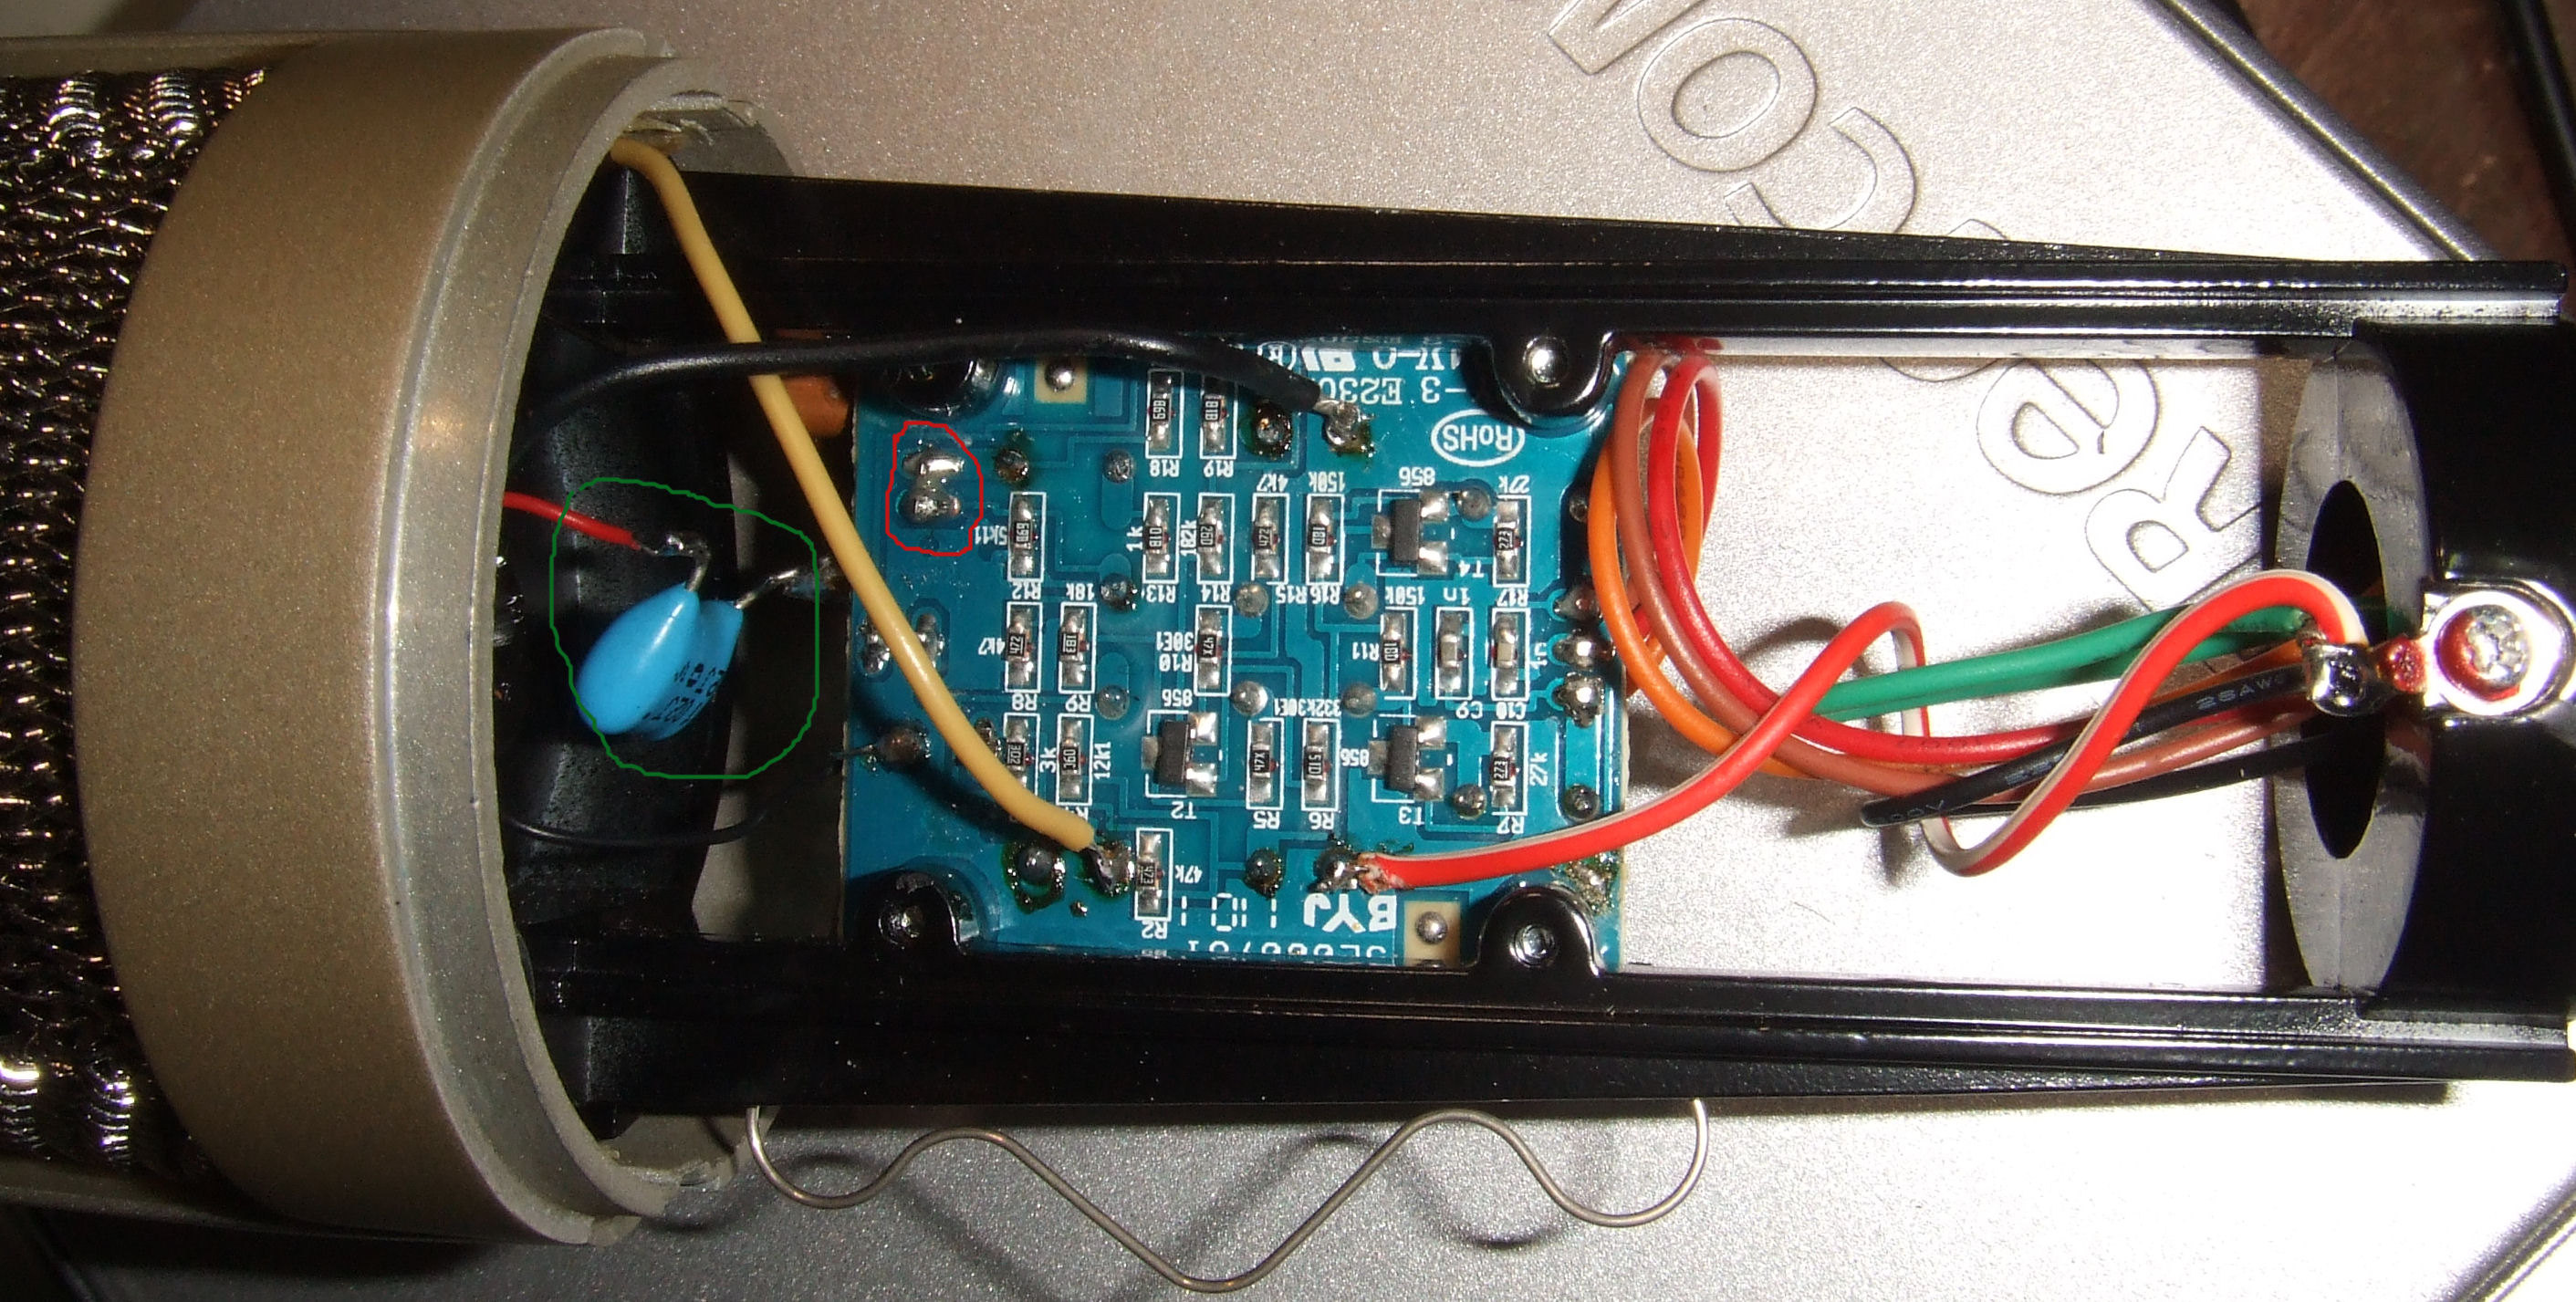
Most of these low-cost mics are suffering grounding problems.
The mic on the picture did not have serious housing grounding
and the top chrome netting cover did not have a proper ground.
Also the plug in the bottom did not have the right grounding.
This Behringer kind of grounding causes hum and also noise from nearby switching power supplies and all kind of other problems.
The main problems this mic may have are two:
1: is the grounding of the electronics and the housing, that is the main problem: 'hum'.
2: Also in some C1's there may have been used noisy smd transistors: problem: 'hiss'.
3: The mic's sound may be improved by exchanging a capacitor, and adding some glue to the pcb.If you have the 'hum' problem, do the modifications below:
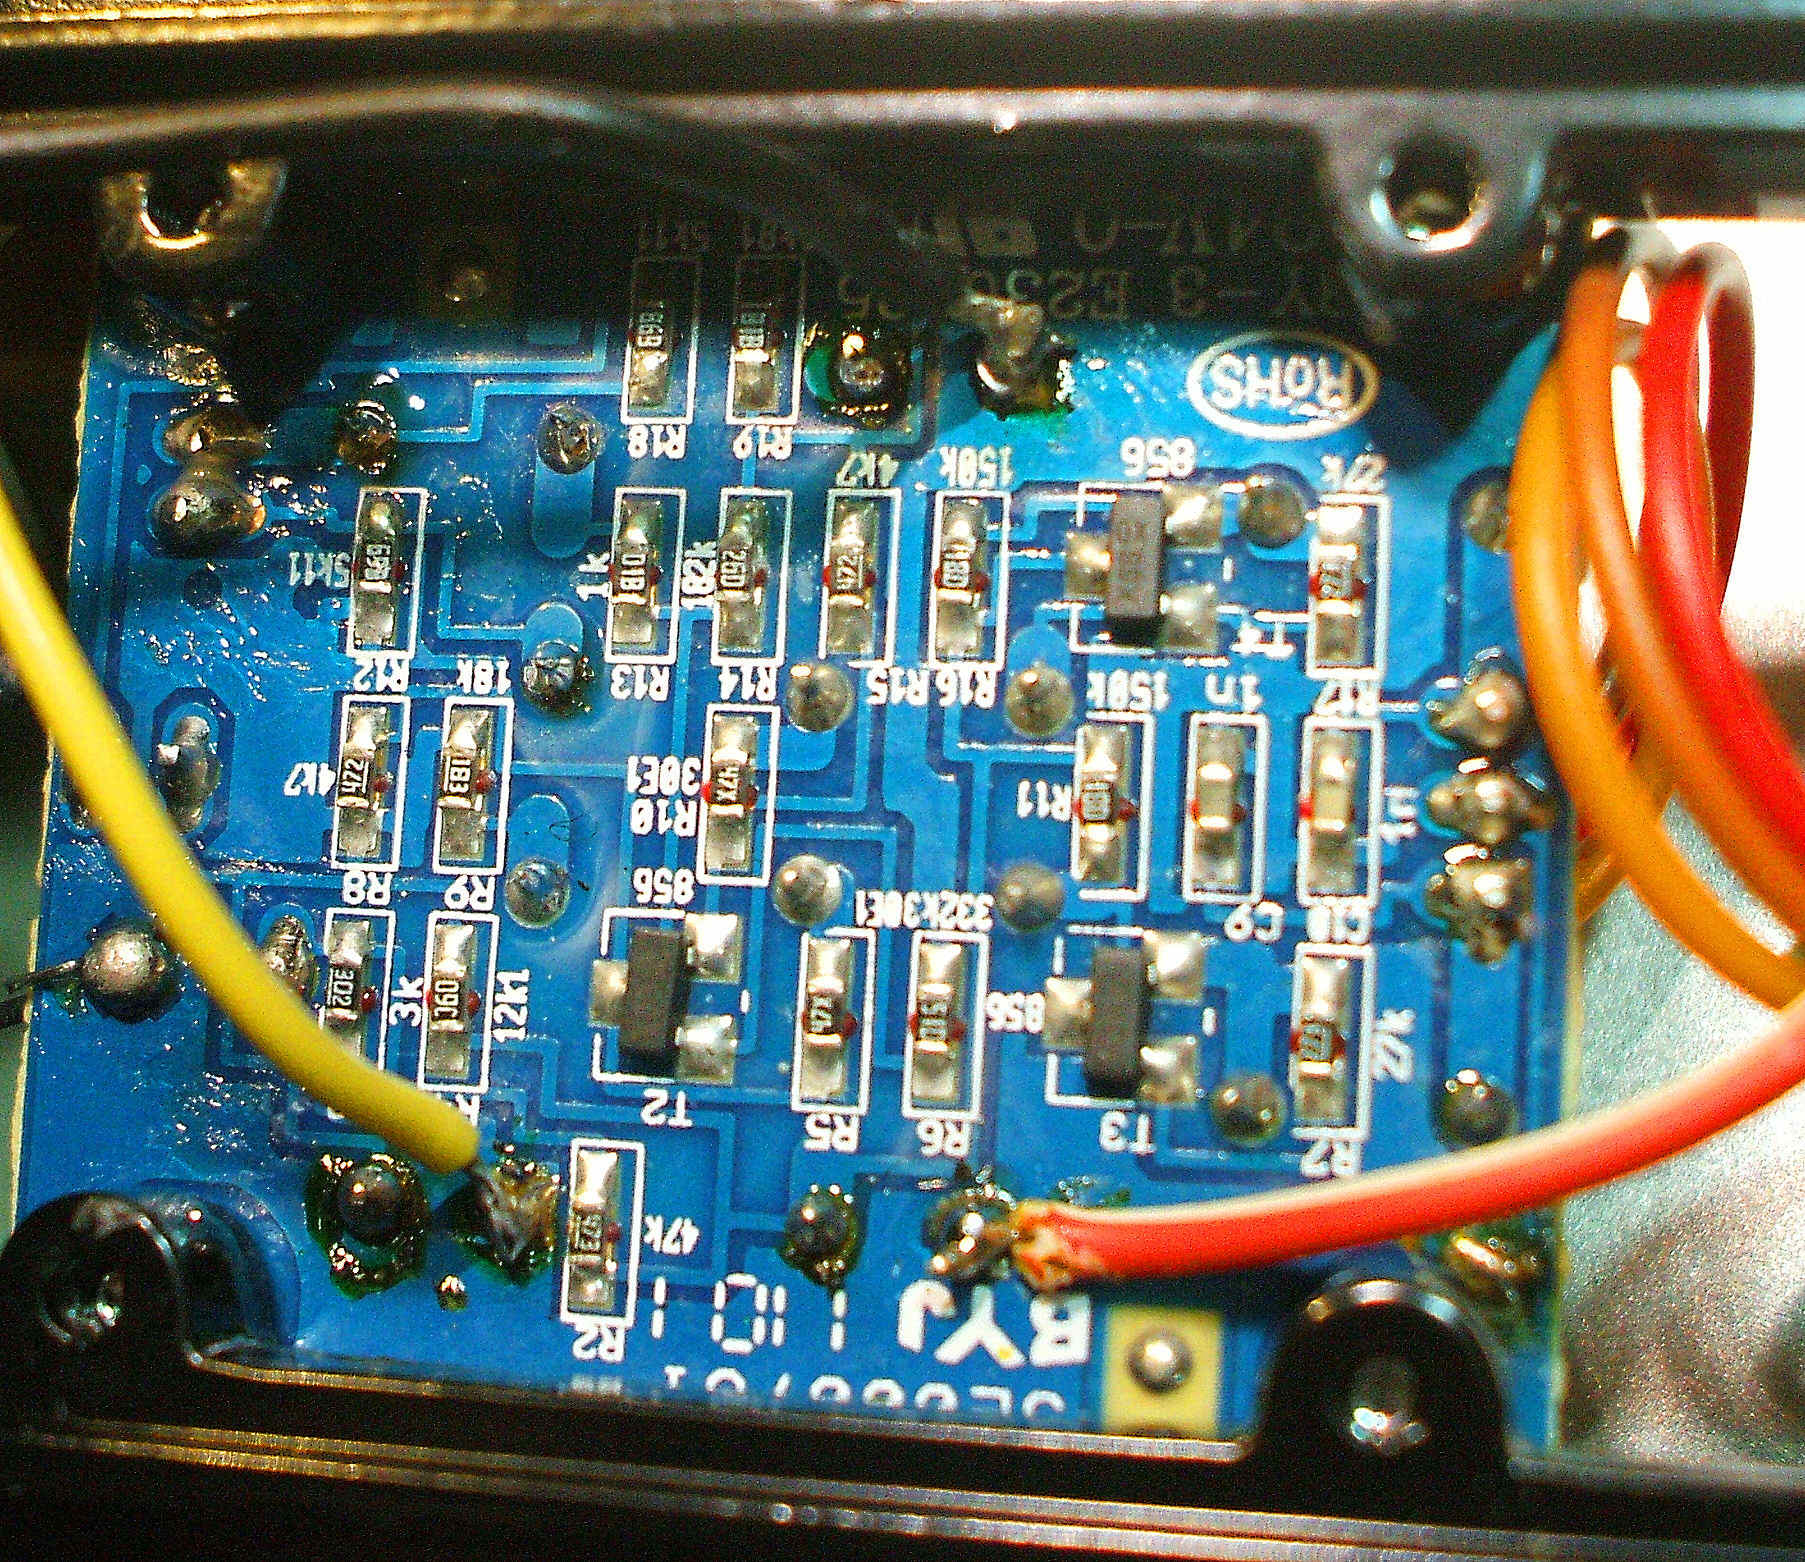
1: ^ Adding 4 grounding (Shield) wires: black, yellow, red-white and green. The black wire connection is shown below, the yellow wire
connects by soldering to the top netting-grid, and the red-white wire is connected as shown above. The green wire is from the plug in the
bottom of the mic. housing, there is also a black wire already existing and that is connected to the shield of the plug,
separate these wires if nessesary.
3: ^ Replace the existing capacitor for a polypropylene one as on the picture: the green selection shows the cap.
Also cover the red selection with transparant paint, that dries & hardens permanently.Shielding v
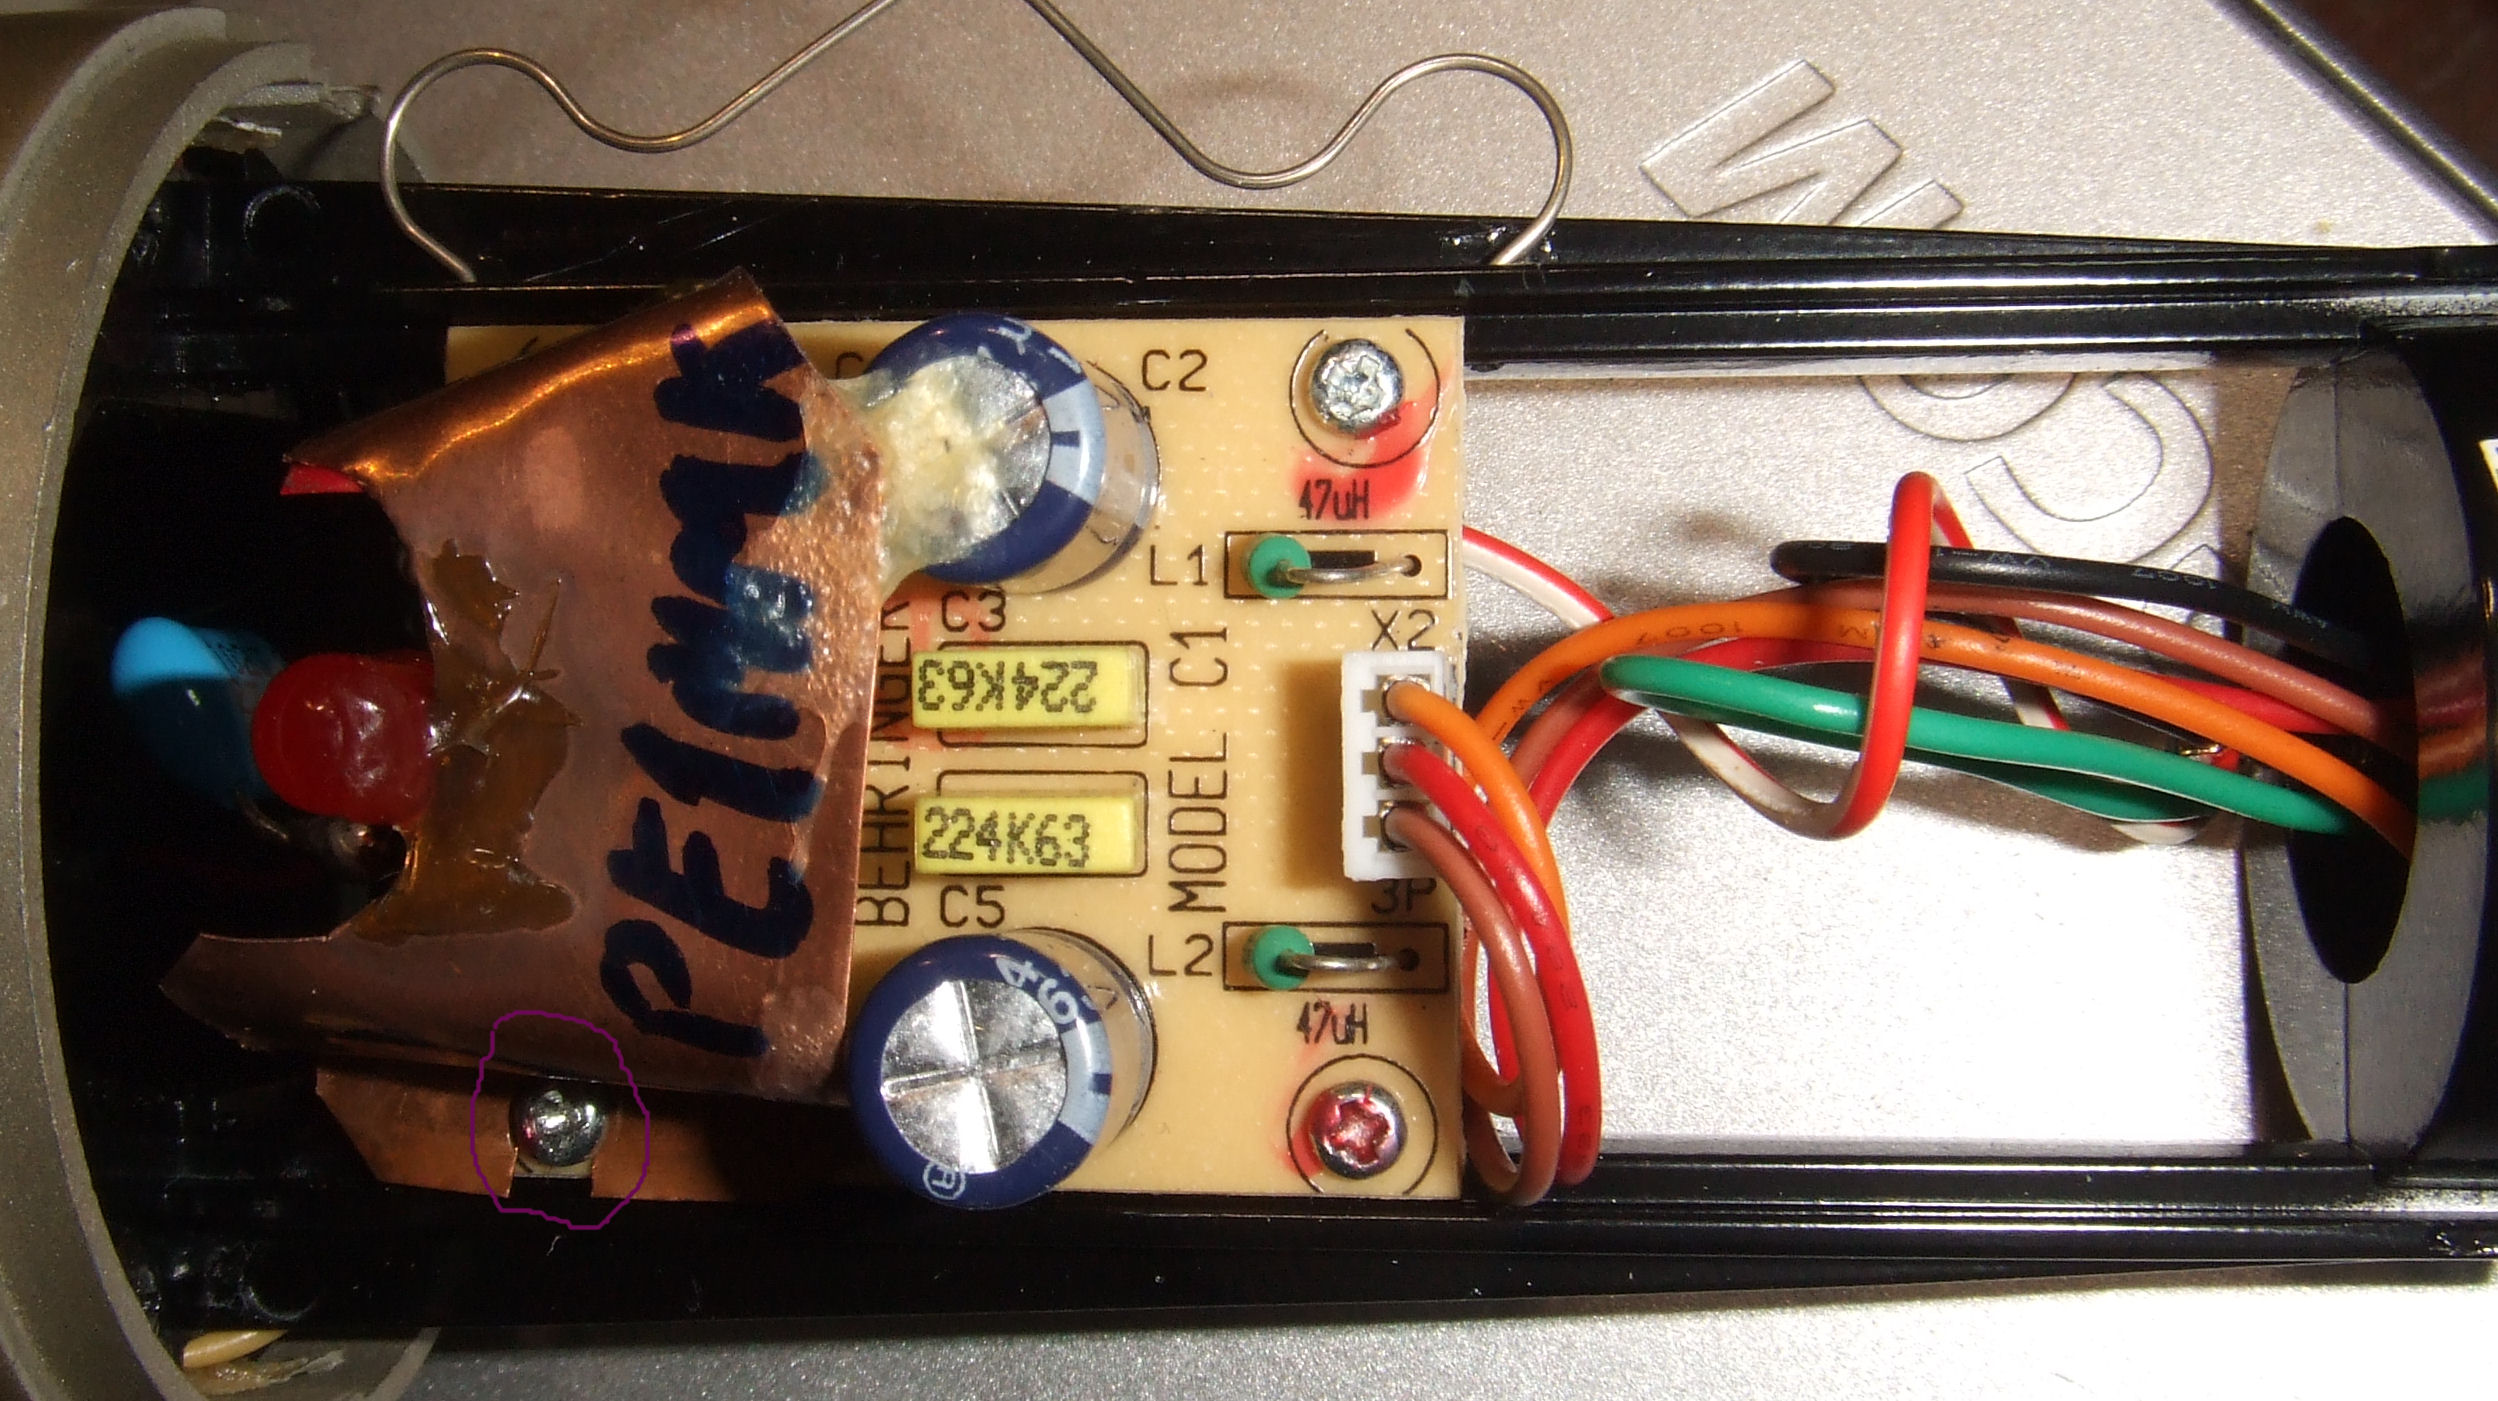
1: ^ Make a shield of metal around the FET transistor as shown on the picture and connect it to ground with the screw in the purple selection.
Apply some glue to prevent rattling noise.
1: Make a connection on the housing of the mic: use the screw of the top part of the housing as on the picture black wire, do not forget to
remove some paint to make a good connection. ^
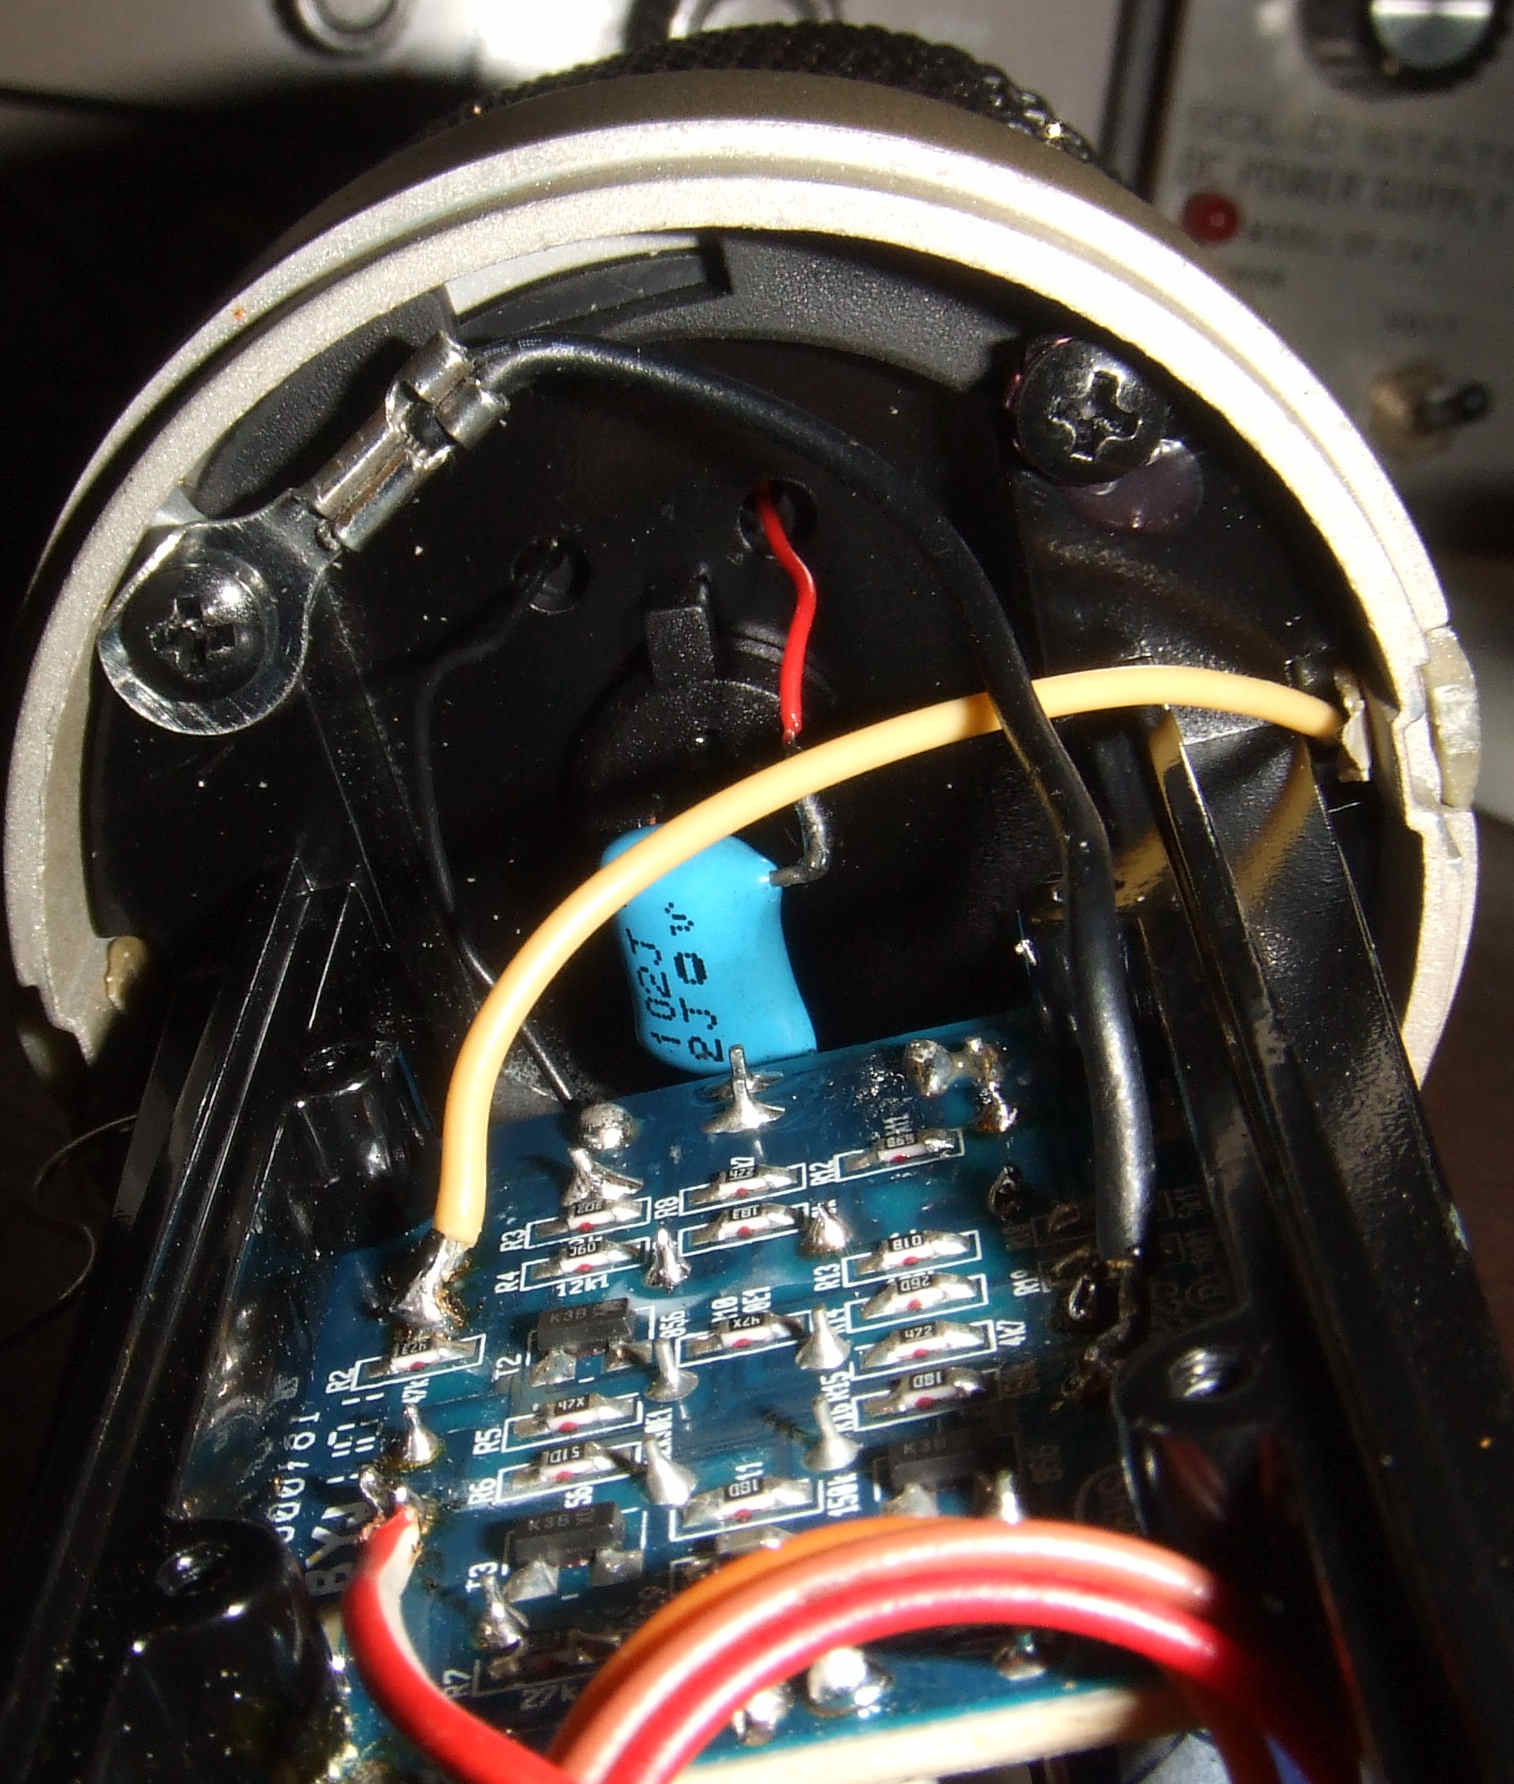
2: Only if you have the 'hiss' problem replace T3 and T4 for low noise (smd) transistors.
The board has 1 FET and 3 smd transistors, thats the whole pre-amp. V
Sound:
After updating its still a low-cost mic, however a quite good sounding and good usable mic.
![]()